Add, Edit, or Delete a Customer (Web)
Create, edit, or archive a customer record from the Pool Runs web admin.
Add, Edit, or Delete a Customer (Web)
Full customer lifecycle from the web admin: creating a customer, editing fields on an existing record, and archiving one you no longer service.
Before you start: Your role must allow customer management to add, edit, archive, or reactivate customers. If an action is missing, ask an admin to check your role.
Add a Customer
-
Click Customers in the left sidebar.
-
Click Add Customer in the top-right of the directory header.
-
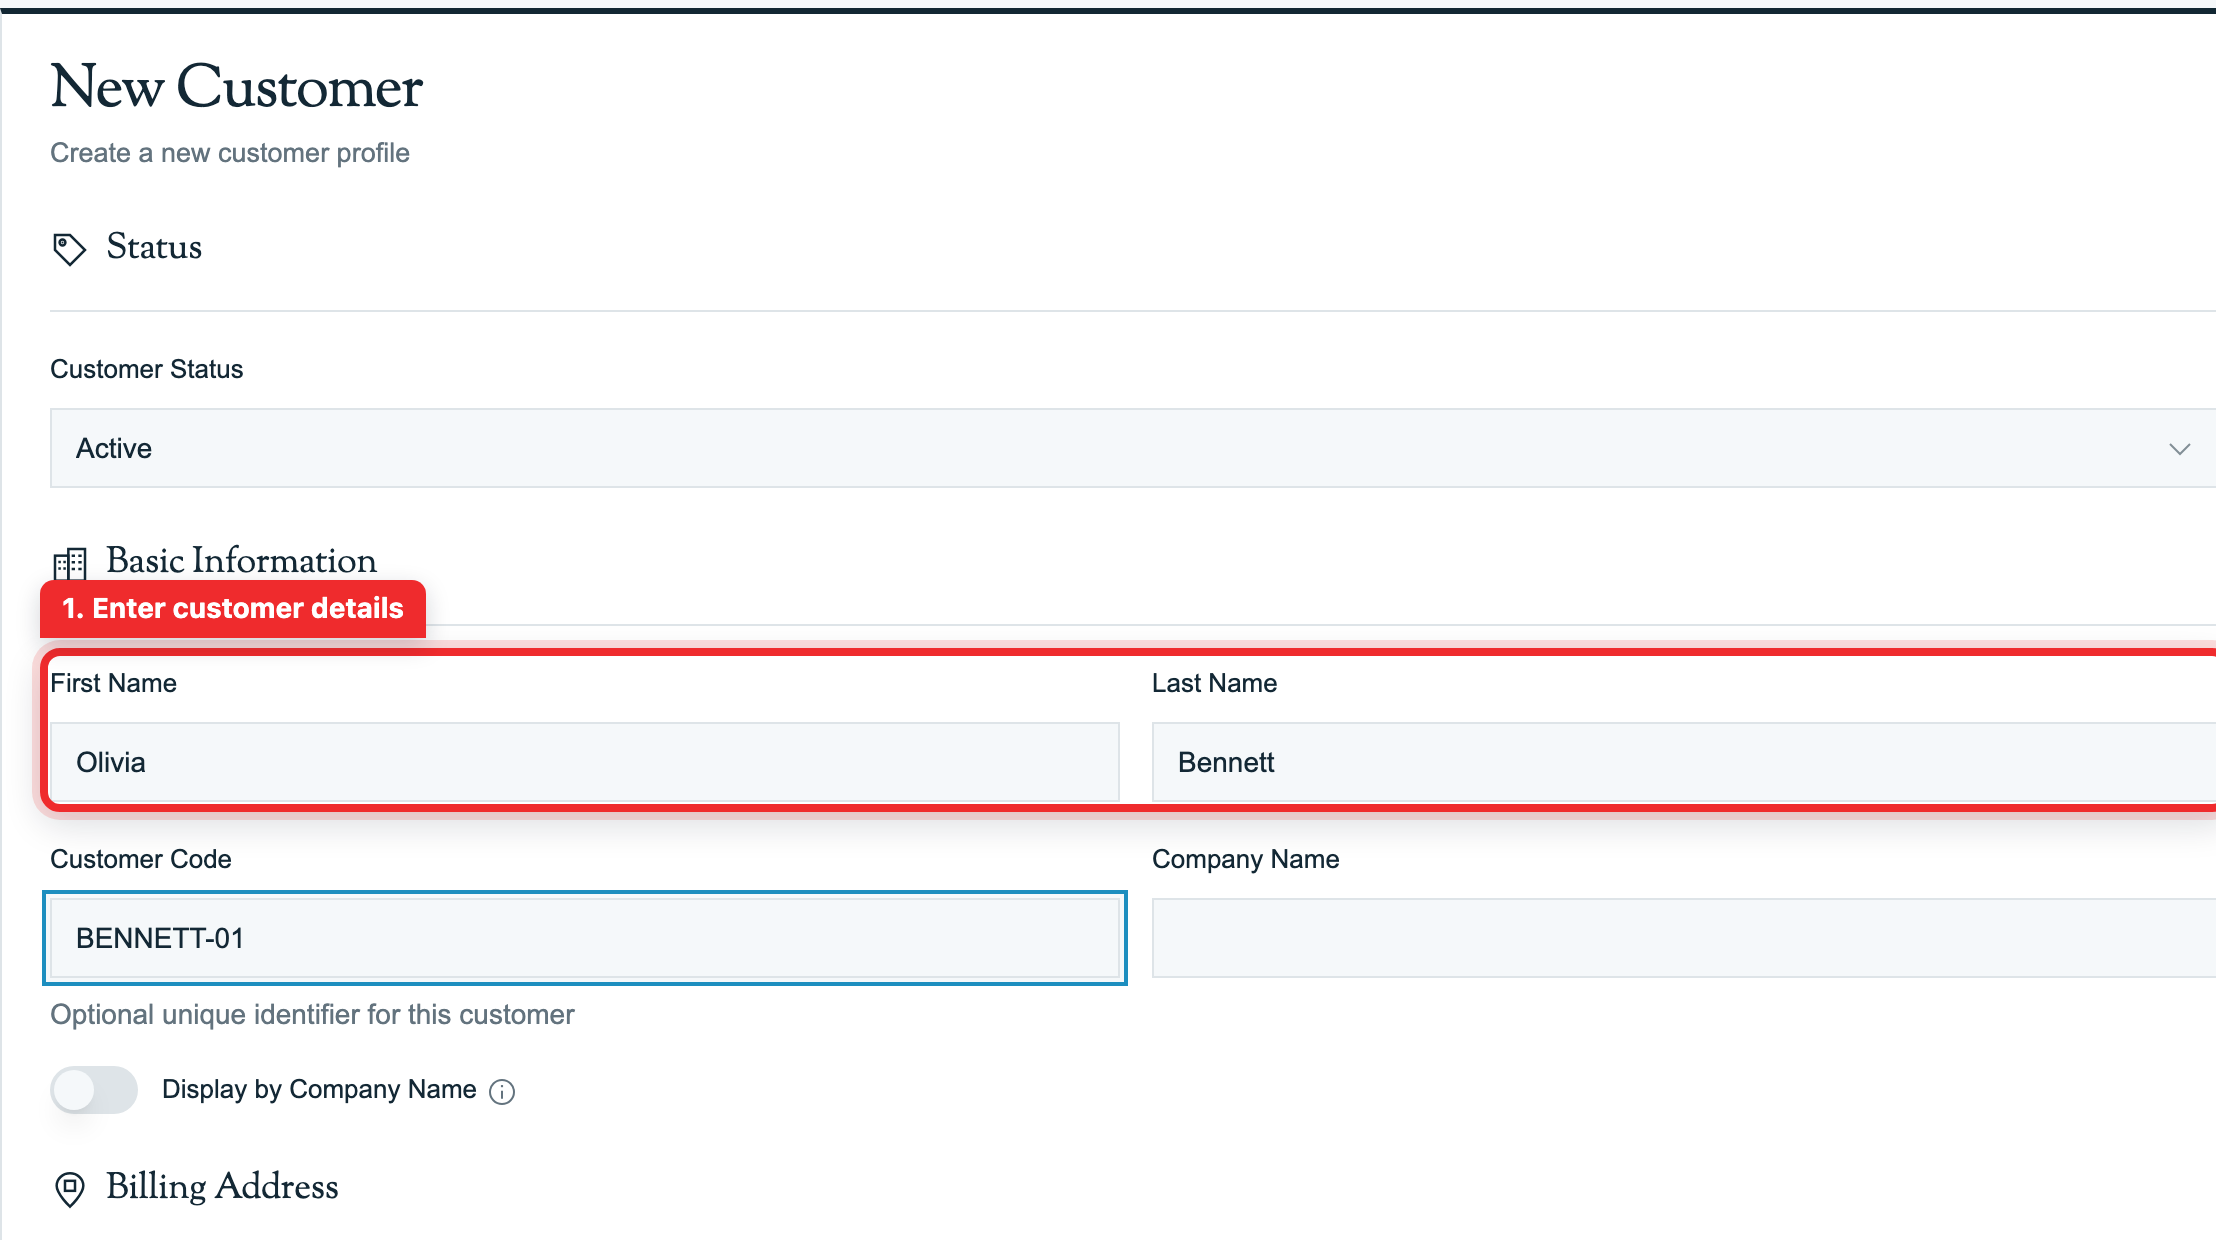
Fill in the form. First Name and Last Name are the only required fields. Everything else is optional but useful for billing, routes, and reminders.
-
Click Create Customer. The new profile opens.
Creating a customer does not create a property. The success message reminds you to add a service location to continue, so open the new profile and add a property (and its bodies of water) as your next step. See Properties.
What's on the form
- Customer Status — Active, Prospect, or Paused (set the initial status here).
- Company Name and a Display by Company Name toggle — when on, the directory and profile lead with the company instead of the person's name.
- Customer Code — an optional free-text identifier. Handy when migrating from a system that already has its own codes. It is not auto-generated.
- Phone Numbers — add one or more. Click Add Phone for a second line, and use the Label field beside each number to name whose phone it is ("George (husband)", "Property manager"). The label shows next to the number on the profile, so a second line is never a mystery number.
- Billing Address — start typing in Search Address and pick a suggestion to fill in street, city, state, and ZIP. There is no separate service-address field here. A confirmation dialog may ask you to verify the map location.
- Tags — pick from the preset dropdown or type your own.
- Notes and Billing Notes — free-text context that carries across visits and statements.
If the name, email, or phone you enter looks like an existing record, a live Possible duplicate warning appears so you can catch double-entry before saving.
Add the First Property
Creating the customer is only half of onboarding. A customer on its own is just a billing record, it has no pool to visit yet, which is why the new profile immediately prompts you to add a service location.
A service location, or property, is the physical address your tech actually drives to: the house, the HOA, the office building where the pool lives. It is a separate thing from the billing address, and one customer can hold several properties (a primary home, a vacation home, a rental). The property is what carries the gate code, the service rate, the route assignment, and the bodies of water.
To add the customer's first property from their profile:
- In the Service Locations card, click Add First Location (or Add Location if they already have one).
- Set the address. Click Use Customer's Billing Address to reuse it, or search for a new one. Pool Runs places it on the map for routing, and a confirmation dialog may ask you to accept the matched address.
- Add the Gate Code your tech needs at the fence, and fill in Access Notes (what the tech reads before opening the gate: the dog's name, which side gate to use) and Location Notes (general property context). Then set the Service Rate and a Rate Type (per stop, per month, and so on).
- Under Water Feature, name the first pool or spa and give it a rough volume in gallons. Volume is what every chemical dose is calculated against, so even an estimate matters.
- Click Add Property.
The property now shows under the customer with its pool, and the account is ready to schedule, route, and bill. For the full property form, including access notes, dog names, and labor cost, see Properties. To add more pools or spas to a property, see Bodies of Water.
Edit a Customer
- Open the customer from the Customers directory.
- Click the pencil Edit on the section you want to change (for example the Basic Info card). Make your changes and Save.
When editing, the submit button reads Save Changes.
Archive a Customer
Pool Runs archives customers rather than hard-deleting them, so service history, invoices, and readings are retained. Archiving hides the customer from active lists and routes.
There is no separate Archive button or Actions menu on the web profile. You archive by changing the status:
-
Open the customer.
-
Click the pencil Edit on the Basic Info card.
-
Set the Customer Status dropdown to Archived.
-
Click Save Changes.
The customer moves to the Archived list, filterable from the directory.
Reactivate a Customer
Same flow in reverse. Filter the directory to Status: Archived, open the customer, click Edit on the Basic Info card, set Customer Status back to Active (or Prospect or Paused), and Save Changes.
Related
- Add, Edit, Archive, or Reactivate a Customer (Mobile App) — the same lifecycle on mobile
- Customer Directory — browse, search, and filter
- Importing Customers from CSV — bulk import from a spreadsheet
- Importing Customers from QuickBooks Online — bulk import from QBO